
Welcome to the January Technique Blog Hop.
Our featured technique this month is Overlays!
If you've come from Sheila's blog your on the right path. Click the link at the end of the post to continue on the hop.
Ok, what's the deal with Overlays? Well, Overlays can be used in SO many ways on your projects! I have two examples here to share with you.
A layout is an obvious way to use the Overlays. There is a lot of space in a 12"x12" layout page and an Overlay can be a large or small part of that space. The layout below was posted a bit ago, but I couldn't resisted sharing it again. In the background you see a Houndstooth Overlay from our Cricut ArtBooking cartridge. There are so many different styles of Overlays in this cartridge!
The rest of the papers and the stamped images come from the Cloud Nine kit available this month. As you can see, I used the Honey cardstock to make the Houndstooth Overlay. It gives a nice texture in the background and is layers over Lagoon cardstock. Scroll down to see what else you can do with an Overlay!

When I took the Overlay off the Cricut mat I decided I cut the Overlay larger than I really wanted. I trimmed it to the size I wanted to use and set the rest aside. Later, I used that scrap Overlay piece as a stencil for a card I wanted to make!
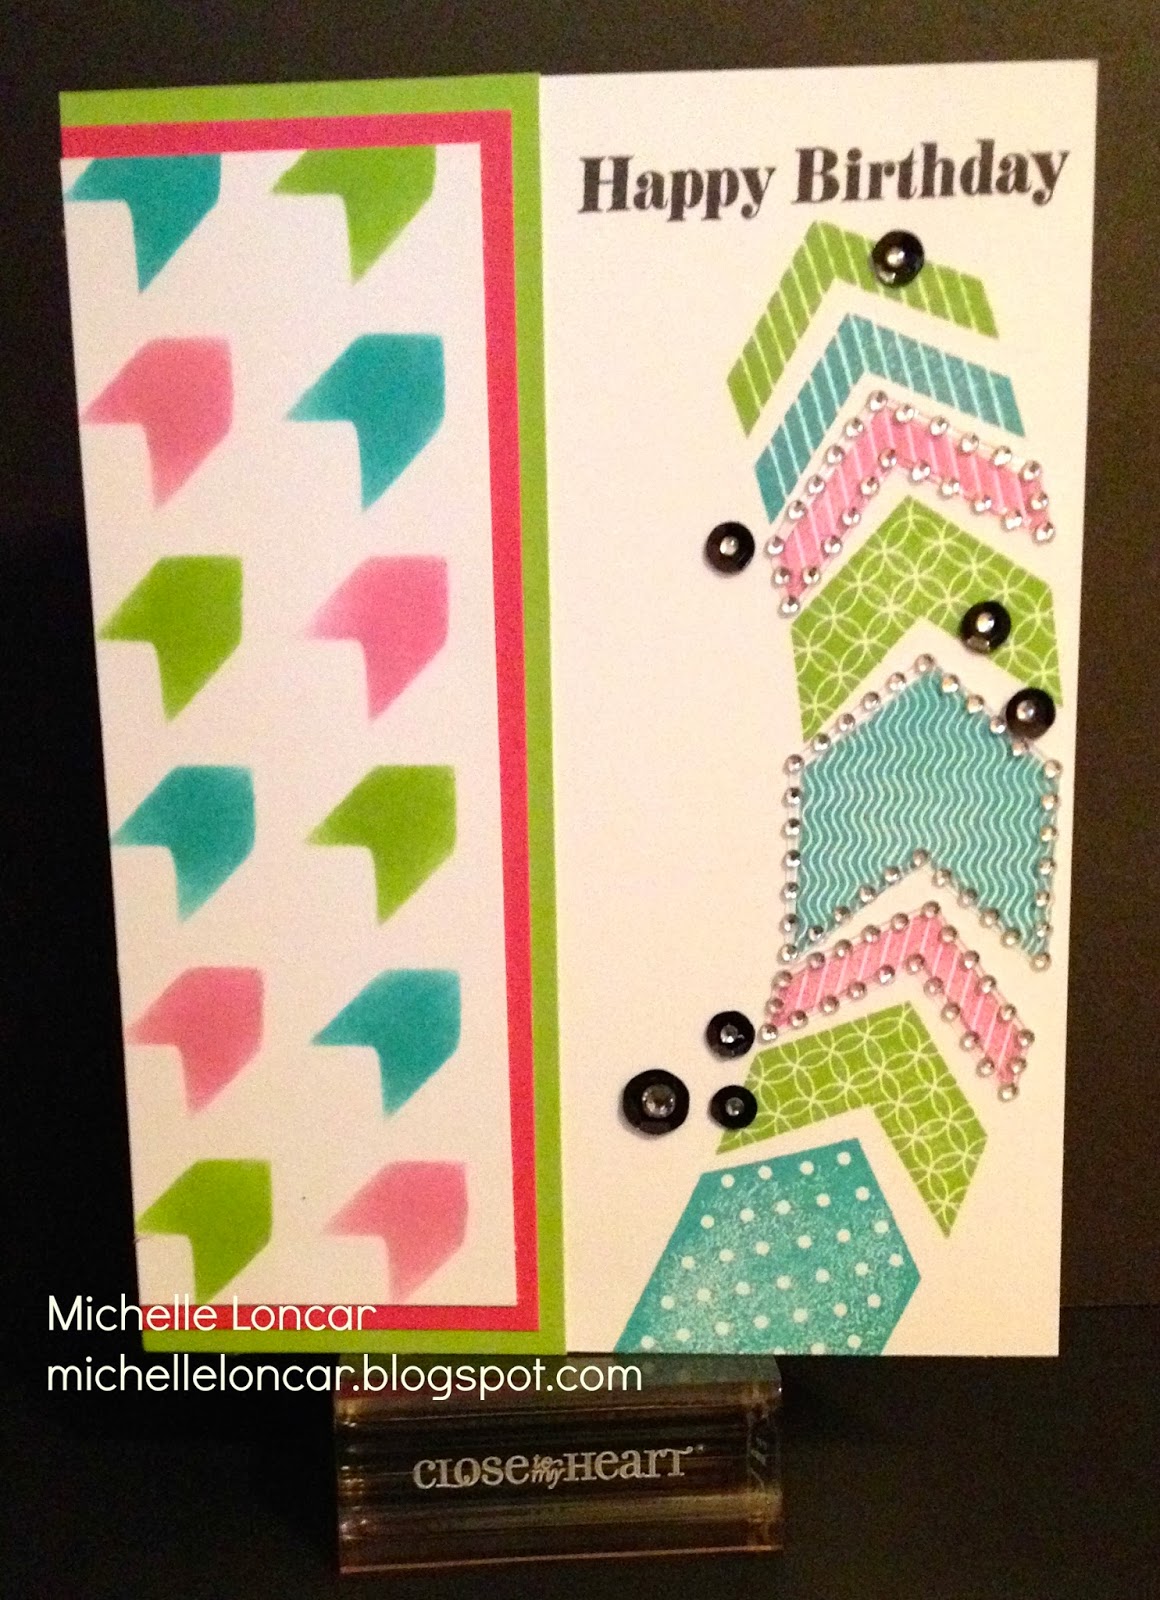
I put a couple of dots of our Glue Pen and let it dry. When you do that, the glue becomes like sticky note glue! It holds your piece in place but will release when you take it up! Cool, right! Ok, I placed the Overlay stencil on some cardstock and used sponge daubers to rub on some ink in the cutouts. The colors are Lagoon, Cotton Candy and Pear. Nice bright colors!

Here is what it looked like when I took off the Overlay stencil.

Next I layered the stenciled border I made along the left side of the card. In the same colors I stamped images from the Charming Chevrons set. But I decided to make a bit of a curve to the chevron trail and I LOVE how it turned out! So much more interesting than a straight line…at least for this project. Happy Birthday comes from the Banner Wishes set. To tie in the black from the ink I used sequins and sparkles from the Black Mini Medley pack and finished it off with a few sparkles from the Chevron Sparkle Shapes!
Now, I know you feel like adding Overlays to your projects! Click here to shop 24/7!
It's tim to continue on the hop for even more ideas using Overlays. Next up is Sharon's blog. Hop on over and see her creative ideas!
Thanks for hopping by!
Michelle


I can't stop smiling at the mustache binky! So cute!!
ReplyDeletedon't you just love using the daubers to help us get just the right amount of color right where we need it. Love the layout and the cute baby.
ReplyDeleteOMgosh I just love this card :) to make that chevron arrow curve up to the sentiment is just to cute :) Thanks for sharing the inspiration of this card, will be trying that arrow of chevrons on a layout, just to cute :)
ReplyDeleteCool card!
ReplyDeleteGreat idea to use different colors with the stencil. And thanks for the tip of securing the overlay before sponging.
ReplyDeletethat totally rocks!!!!
ReplyDelete